Customizations in Electronic Report for Beginners

15July
Introduction:
- Electronic reporting is a no-code reporting tool that is completely integrated into D365.
- It allows the creation of report structures directly within the platform without the need for extra software like Visual Studio.
- Customization of business documents using Excel is also feasible, this is a great alternative for non-developers.
- Configurations from the Life Cycle Services (LCS) asset library can be easily downloaded and loaded into D365FO for use in reports and print management.
- Visual editors are used to create all components of the ER configuration.
- The language that is used for data transformation resembles the language that is used in Microsoft Excel.
Data flow:
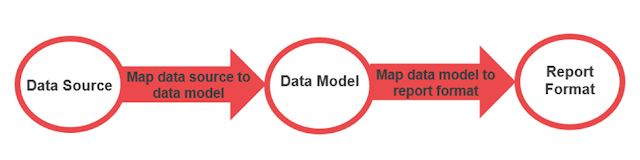
Component
ER supports the following types of components:
- Data model
- Model mapping
- Format
- Metadata
Designing:
First, configure your electronic reporting repository through RCS configurations, check out this article for further details.
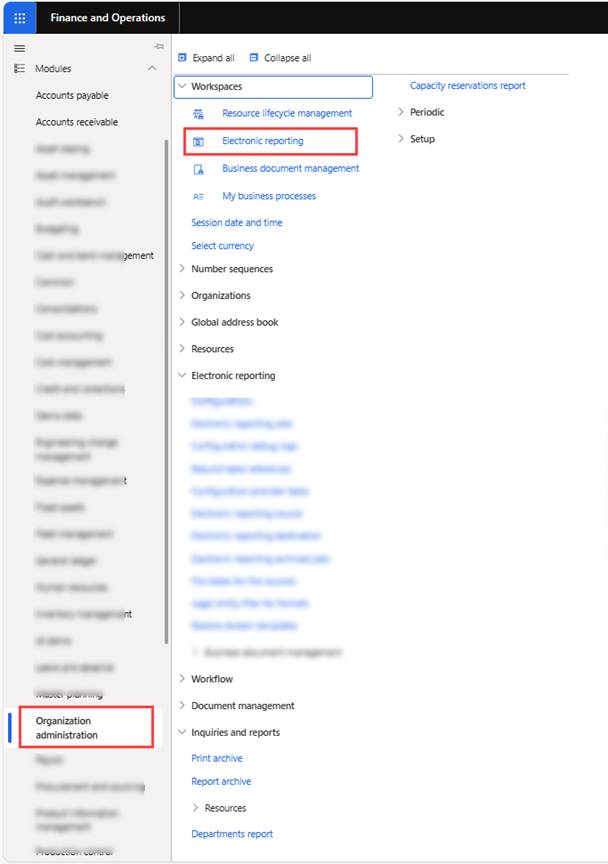
Go to the path: Organization administration > Workspace >Electronic Reporting
Open the Electronic Reporting workspace and select reporting configurations.

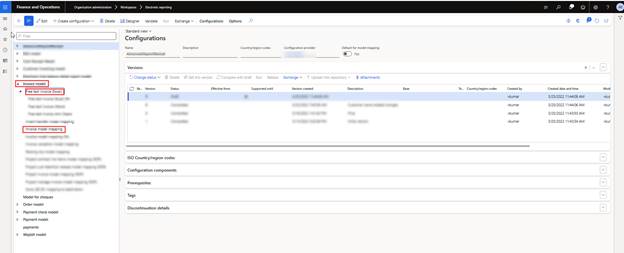
First, check the configuration versions and import the Latest Version from the Microsoft repository, if needed.
Now, creating a new data model.
Data Model
- The electronic reporting data model refers to the structured framework defining how data is organized, processed, and represented within electronic reporting systems.
- It outlines the specific formats, relationships, and rules governing the handling and transformation of data for reporting purposes.
- Data model content (labels and descriptions) can be translated into other languages that the applications support.
Create a new derived model and type name and description. ER lets you create (derive) a new component from the current version of a component (base) that was imported from LCS
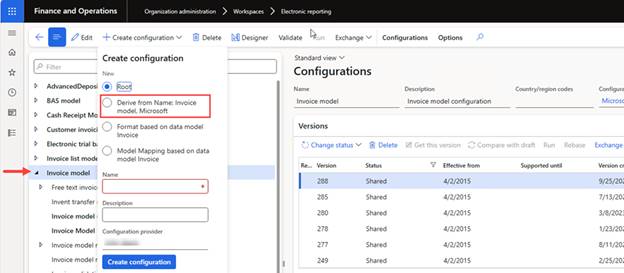
A new field can be added to the model by creating a child of an active node.
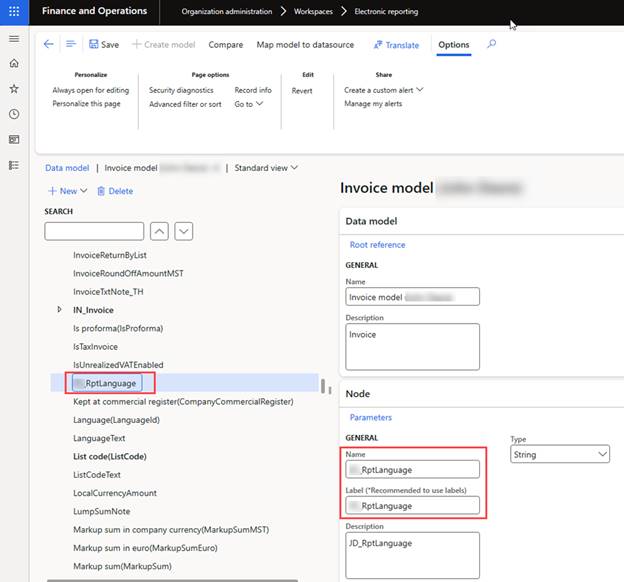
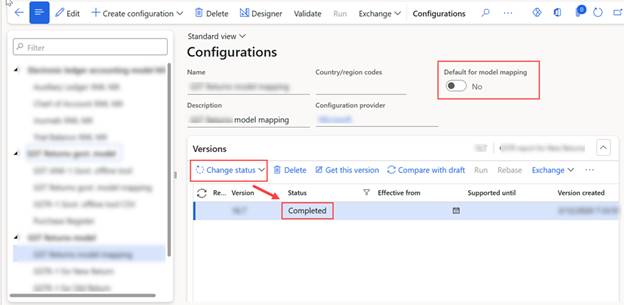
Mark the model status as ‘Complete’. For mapping this new field with the data source, we need to create a new data model mapping.
Model Mapping
- ER provides a model mapping designer that lets users map data models that they have designed to specific application data sources.
- Based on the mapping, the data will be imported at run time from selected data sources into the data model.
- The data model is then used as an abstract data source of ER formats that generate outgoing electronic documents.
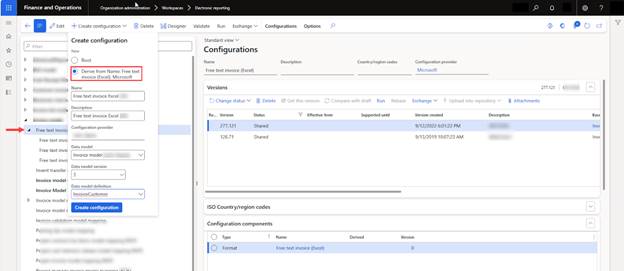
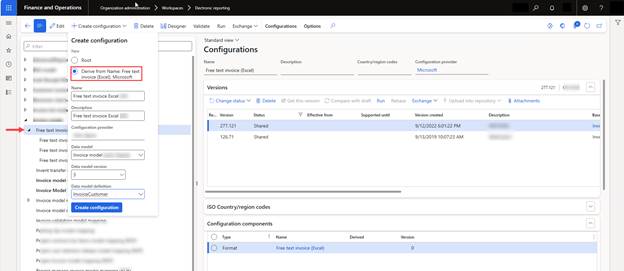
Select ‘Invoice Model Mapping’ and click on the ‘Create Configuration’ button then mark derive from original mapping and select the new model that we created earlier.

Select new mapping and click on the ‘Designer’ button and then select the base mapping data source in which we want to add new mapping and open ‘Designer’.
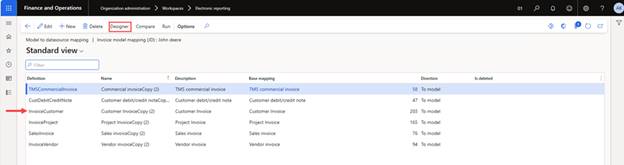
There are already some out-of-the-box mapping in which some fields are not mapped. If we want those fields or our new fields, then we need to create new mappings.
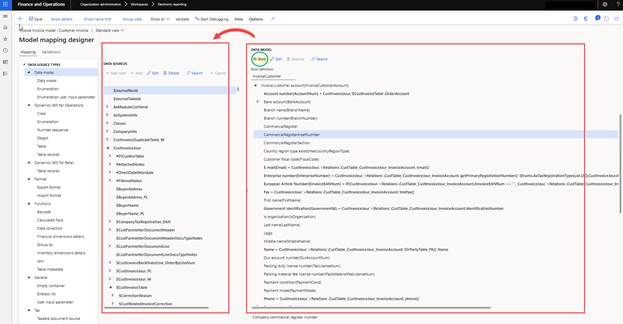
For this, we need to bind Data model fields with actual Data source[tables] fields by selecting a field in both the left and right blocks and clicking on the ‘Bind’ button.
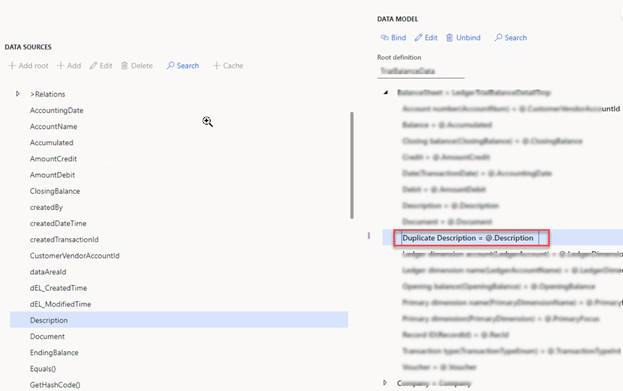
Now map the model field with the data source field by selecting the Description field on Data Source and Duplicate description field on the model then click on bind.

Once mapping done fields will map as shown below
Mark the status of your model mapping as ‘Complete’ and then set it as default.
Now setting these mapped fields in the actual report.
Report Format:
- ER supports a format designer that can be used to build the format of an electronic document for a selected business domain by selecting the model component as a base.
- The same ER format designer lets you map a format that you create to a selected domain’s data model mapping as a data source.
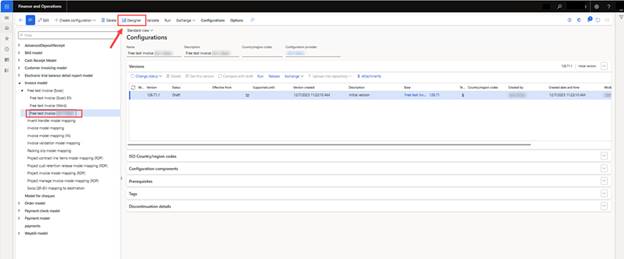
Create a new derived report format and type name and description. ER lets you create (derive) a new component from the current version of a component (base) that was imported from LCS
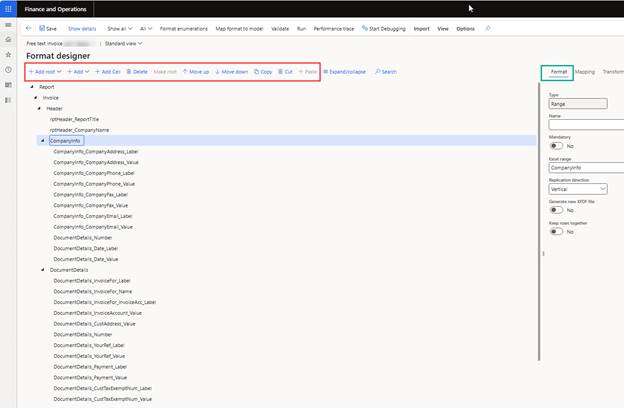
Attach the customized Excel template, to customize your Excel template read this article. Open the designer of your custom report by clicking on the ‘Designer’ button
use the button strip for adding, and deleting new cells, and also for sequencing cells by moving up or down. [Note: add two cells one for label and one for value]
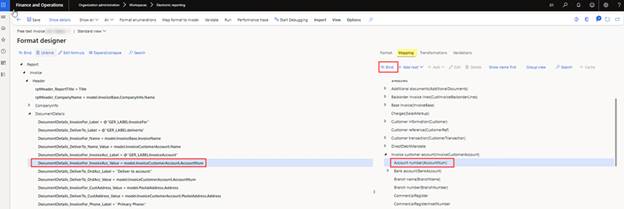
For binding values with model fields, go to the ‘Mapping‘ tab.
Click on the field value, search for the desired field in the model, and then bind it with our report field.
And for setting label fields select the label field and go to ‘Edit formula’.
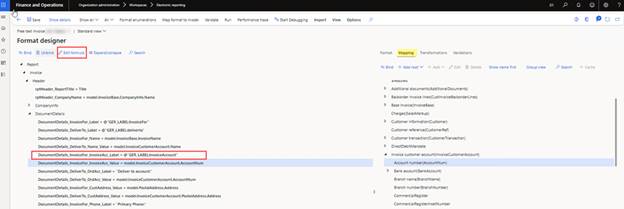
Set a label from the ‘Translate’ button or type in the label ID. Check this article for creating new labels.

After setting up all the fields validate your report by clicking on the ‘Validate’ button. Please read this article for Common validation errors and warnings in ER reporting.
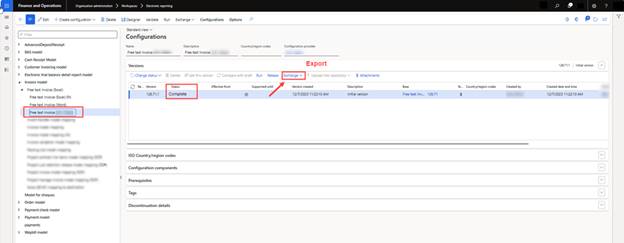
After all the customizations mark your report status as ‘Complete’, and click on the ‘Exchange’ button and select ‘Export’. This exported file can be imported into other environments as well.
For Running an ER report check out this article.